Thickness: Only 11mm
Warranty: 18 Months
Body material: PC(Japan Brand)
Visual distance: > 800m
Load Bearing: 20 Tons
Working Mode: Flashing or Constant
Waterproof: IP68
Shank: Without shank
Solar Powered Road Marker Lights Features:
•High brightness America brand led light with 100000 hours of working time.
•USA brand solar panel. 22% high conversion rate. Fast charge rate.
•Thickness only 11mm, solar powered road marker friendly to bicycle and motorcycle wheels.
•Anchor holes or the adhesive bond for dual fixation.
•Long life span 5-8 years.
•Solar powered road marker accept OEM/ODM
Solar powered road marker Parameters:
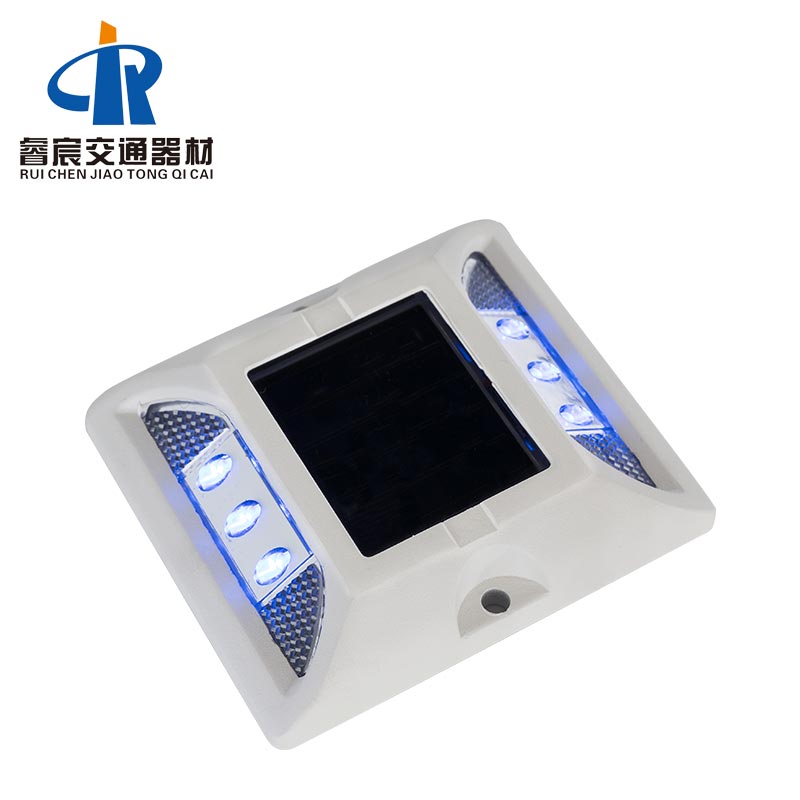
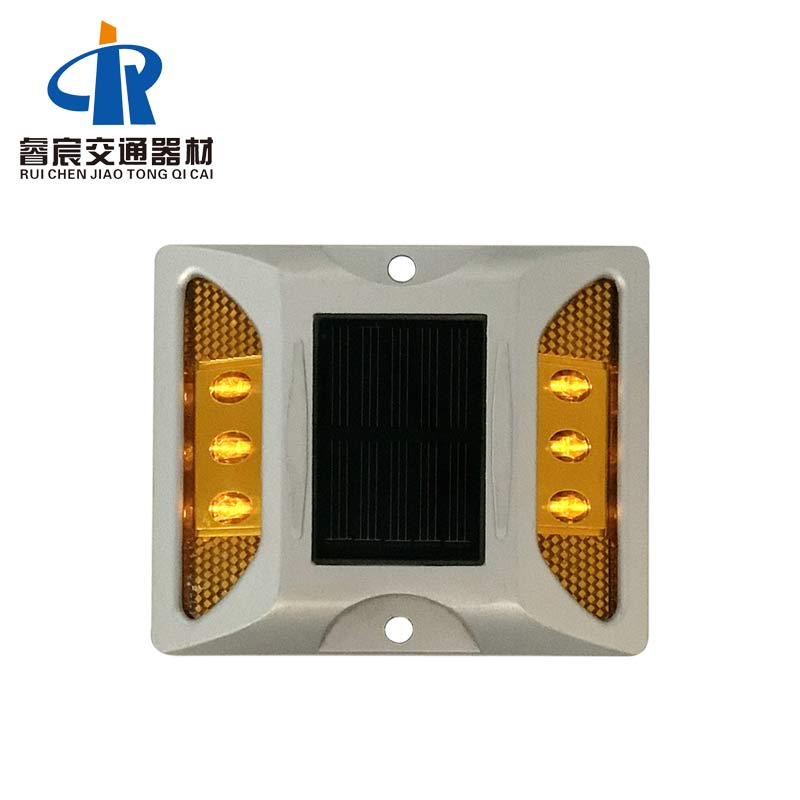
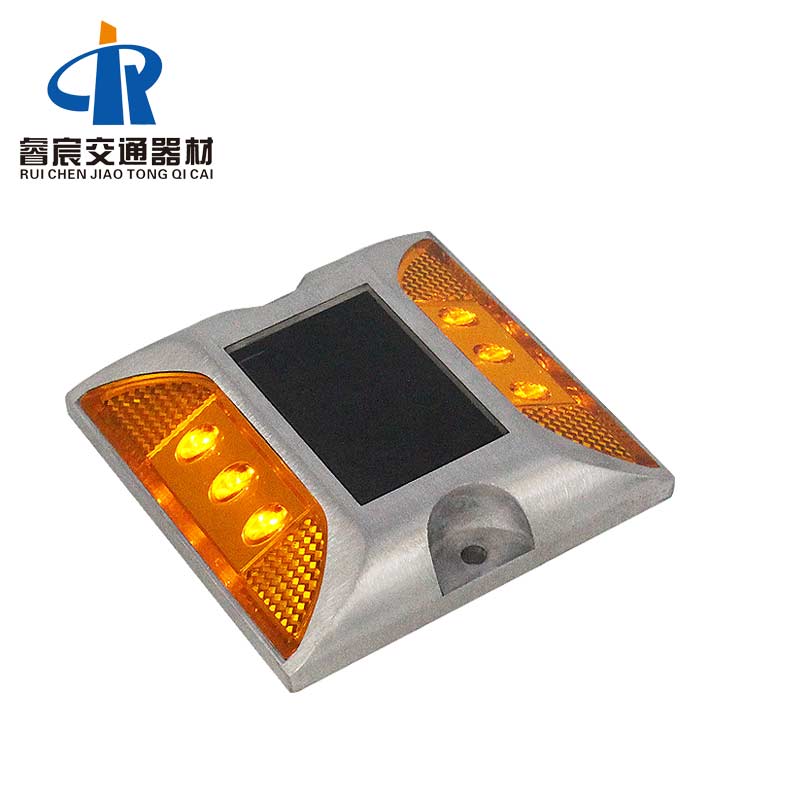
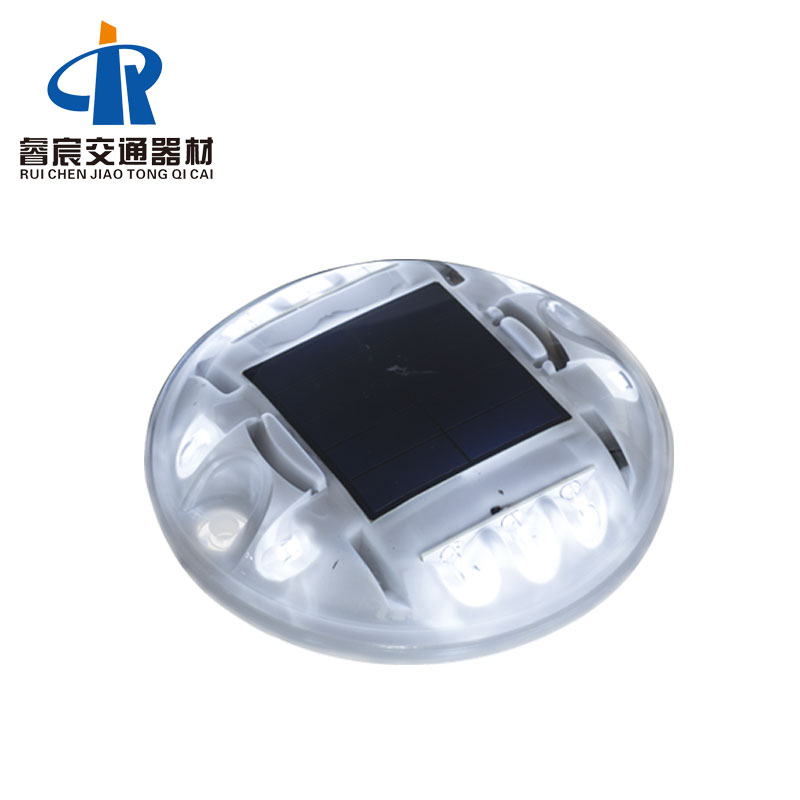
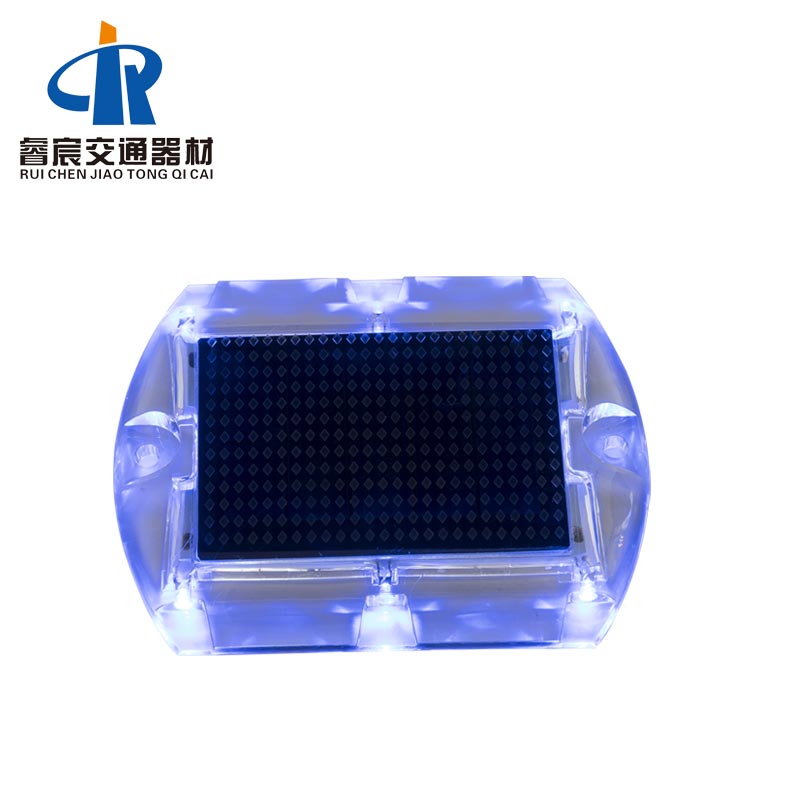
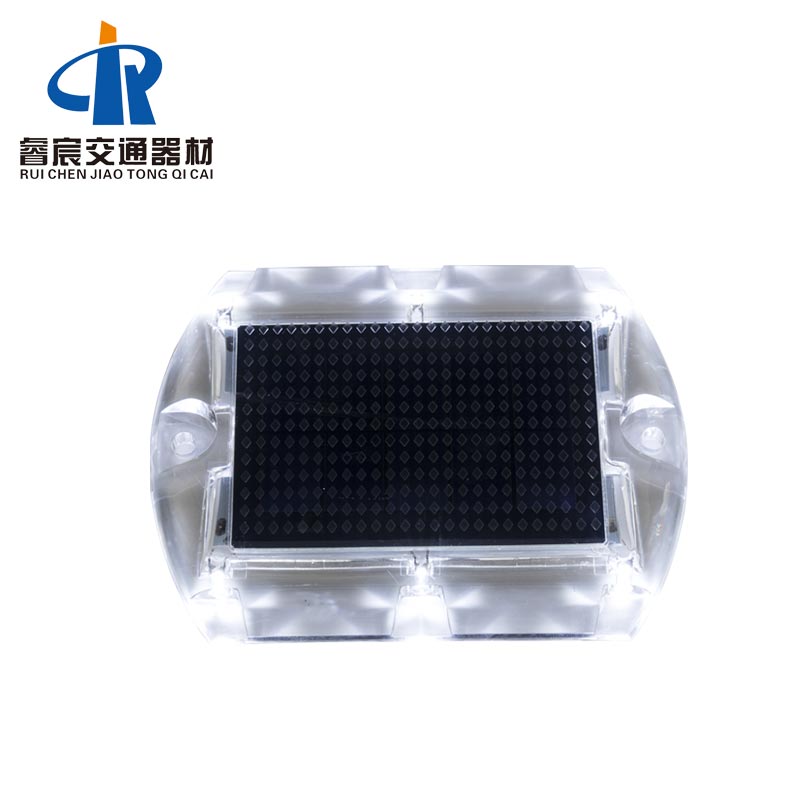
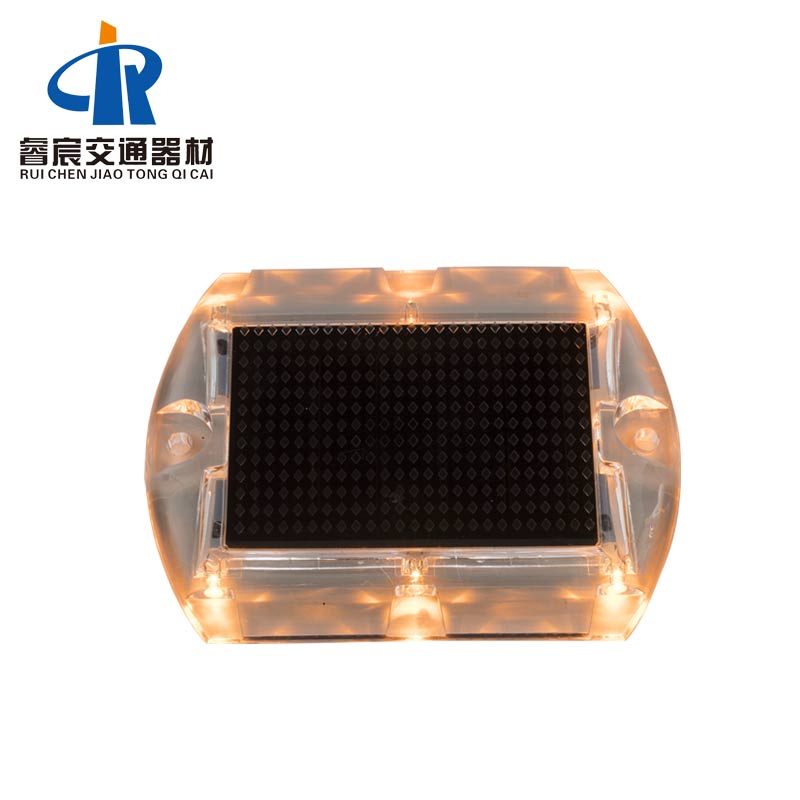
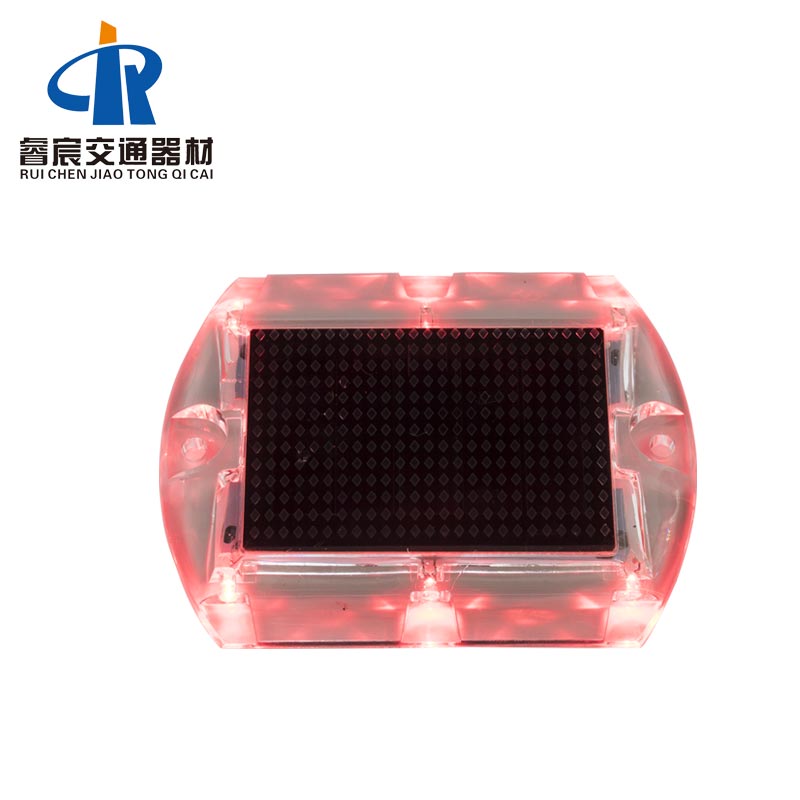
| Material: | PC(Japan Brand) |
| Power supply: | USA Brand Flexible High Efficient Solar Panel 5.5V/80MA |
| Battery: | Lithium battery 3.2V/500MA |
| Working model: | Blinking or Constant Charging in the daytime and working automatically at night |
| Life span: | 5 years for lithium battery; |
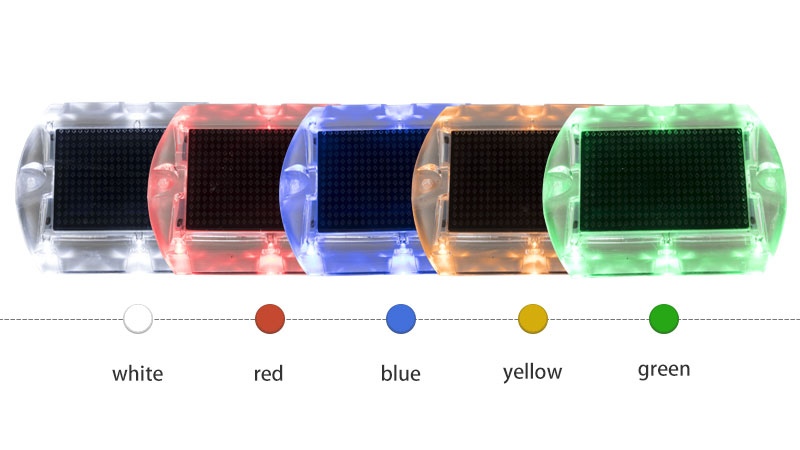
| LED colors: | Yellow, White, Red, Green, Blue |
| Resistance: | 20T(static) |
| Size: | 114*90*11mm (4.49″*3.54″*0.43″) |
| Visual distance: | >800M |
| Water proof: | IP68 |
| Carton Size: | 2pcs/box;100pcs/ctn;weight:14.5kg;carton size:48*27*21.5cm 2pcs/box;100pcs/ctn;weight:31.97bs;carton size:18.90″*10.63″*8.46″ |
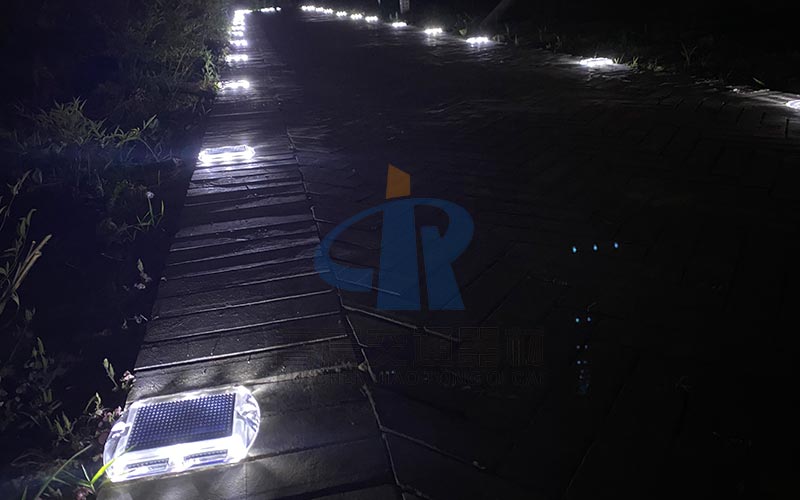
Application of solar powered road marker F1:
♥Schools and hospitals
♥Gardens
♥Deck and Dock
♥Walking paths
♥Bridge
♥Parks and campuses
♥For Decoration
How to install solar powered road marker F1:
1. Determine the installation location and distance, clean the surface of the solar studs, and ensure that the solar powered road marker is installed on a flat road surface.
2. Clean the bottom of the solar powered road markers and apply the epoxy glue evenly to the back of the stud.
3. Press the side with glue on the road, secure the position, wait for the glue to dry out.
4. Check within 2 hours of installation to ensure that all solar powered road markers are properly installed and do not bend or deform due to compression.
5. Please evacuate the installation isolation facility 6-8 hours after installing the solar powered road marker.